Thanks to the Sitecore MVP program I recently attended a 2-day, instructor led, online XM Cloud training course “Sitecore XM Cloud Developer Fundamentals ILT”. This post is intended to provide some details about the course content and structure so that potential purchasers can make an informed assessment of the applicability of the course to their training needs. It is not intended to be a course evaluation or review.
Delivery mode
The course is held over two days and is available in a number of time zones. It is led by a Sitecore Learning trainer and is delivered via a combination of:
- an MS Teams video conference session with instructor slides,
- an “in-browser” virtual machine for hands-on development work (i.e. not RDP),
- Hands-on Lab contents detailed in the Sitecore Learning portal.
The slides are available for review in the Learning portal but are not available for download. The session is not recorded. The course does not cover using .NET as your headless rendering technology, it is more directed towards React/Next.js (although that aspect is only in the latter part of Day 2.)
Course overview
The two days are split as follows:
- Day 1: Cloud Administrator
- Day 2: Local Development
Cloud Administrator (Day 1) focuses on an introduction to XM Cloud concepts, the Sitecore Cloud Portal and XM Cloud Deploy App, the new Pages editor, and numerous typical Sitecore concepts such as templates, items, fields, standard values, presentation details, renderings, rendering parameters, workflow, and security. Hands-on labs are carried out using an XM Cloud instance deployed via the Portal which has access to Pages, Content Editor, and the new Explorer.
Local Development (Day 2) is more targeted towards hands-on development activities and covers quite a range of topics such as spinning up a local container environment, the XM Cloud Starter Template, serialisation (SCS) and the CLI, the Layout Service, creating renderings and components, and numerous other topics including an introduction to the Next.js SDK. The second half of the day is quite dense with content. This is all conducted in a VM provided by Sitecore Learning.
Note: The browser-based virtual machine for Day 2 uses a service called OrasiLabs. You might want to ensure that your corporate network environment will allow access to it (thanks for the suggestion George Tucker)
Course contents are outlined in more detail in the following section.
Course contents
Day 1: Cloud Administrator
Module 1 Intro to XMC
- Traditional vs Composable DXP Intro to WCMS and DXP
- XM Cloud architecture overview. What is XM Cloud, why use it, architecture overview
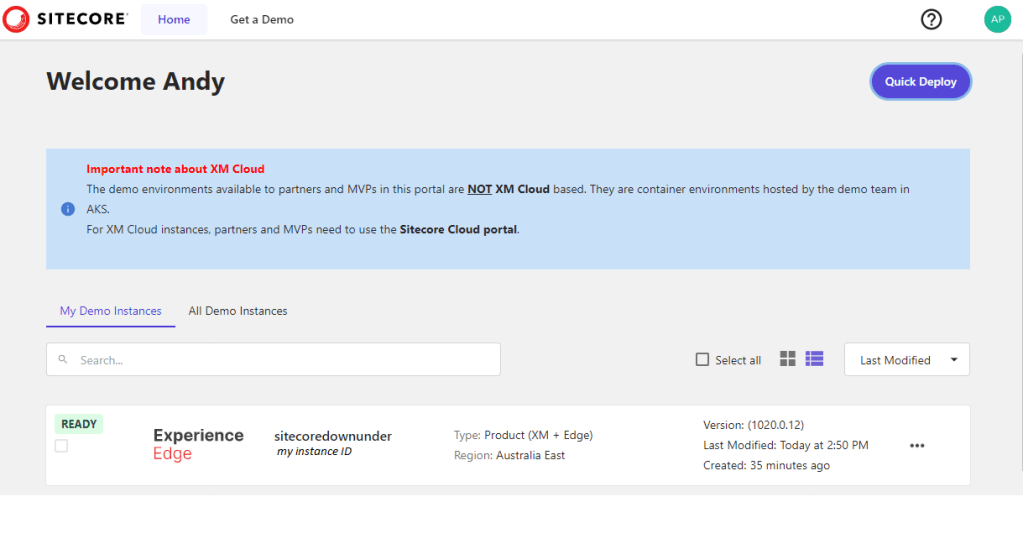
- Sitecore portal and XM Cloud Deploy App. Navigating the portal and Deploy app, Terminology (Experience edge, rendering host, editing host)
LAB: create a project - Managing sites, projects, environments. Anatomy of a site, intro to demo projects
LAB: create a website
Module 2 XM Cloud Pages
- Overview and using the XM Cloud Pages app
- Common fields, placeholders, assigning components
- Versioning and multi-language, presentation and shared layouts
- LABS (covers the above)
Module 3 Data Modelling
- Content Editor
- Items, Content vs “Definition items”
- Templates, fields, grouping via field sections, icons, template inheritance (standard template and recommended practices), field versioning.
- Standard values, insert options, tokens.
- Quick Helix overview
- LABS (covers the above topics apart from Helix)
Module 4 Presentation
- Layouts and presentation details, page and partial designs, datasources.
- XM Cloud Components, grids, breakpoints.
- A peek at the XMCloud Component Builder and comparison with Headless SXA components
- LABS: page and partial designs, component properties
Module 5 Workflow and Webhooks
- Sitecore workflows, states/commands/actions, creating and assigning.
- Using webhooks in workflows
- LAB
Module 6 Security
- Users, roles, built in roles, Access Viewer, Security Editor.
- LAB
Day 2: Local Development
Module 1 Local Development
- Accessing the VM.
- Cloning the XM Cloud Starter Template
- Initializing and upping containers for local Sitecore XM Cloud dev
- XM Cloud Topology
- LAB: Spin up XM Cloud local dev environment
Module 2 Serialization
- Sitecore Content Serialization, config files, modules, environments, rules.
- CLI (login, connect, serialize between environments, packages, IAR)
- LABS: connecting and using SCS
Module 3 Creating Components
- Intro to Layout Service.
- XM Cloud and related concepts: Experience Edge, Edge GraphQL, Headless Services, Edge Connector
- Routing in headless Sitecore+Next.js paradigm, wildcard/catch-all routes
- Partial design inheritance.
- Rendering definitions, rendering parameters and rendering parameter templates, Toolbox.
- Correspondence between Sitecore renderings and React component implementation.
- SXA and Headless SXA base rendering parameter templates and reasons/usage for these.
- LABS: Partial design inheritance, assigning page designs to templates and assigning partials, rendering param template. Creating a Sitecore rendering and corresponding React component
Module 4 Rendering Fields
- Fields and field types. Route fields, complex field types, datasource fields, layout service API response JSON.
- Rendering route fields and datasources in React code.
- Datasource location and datasource template rendering options. Local datasources.
- withSitecoreContext, useSitecoreContext, withDatasourceCheck
- Rendering parameters and rendering variants in React code.
- Cloning existing renderings via SXA script.
- Oout-of-the-box Sitecore Headless modules.
- LABS: Render route fields, complex field types, rendering datasource. Rendering variant, clone rendering.
Conclusion
Hopefully the above will give decision makers enough information to determine which developers are best suited to attend the course and its relevance to project requirements. The course is available here (login required)